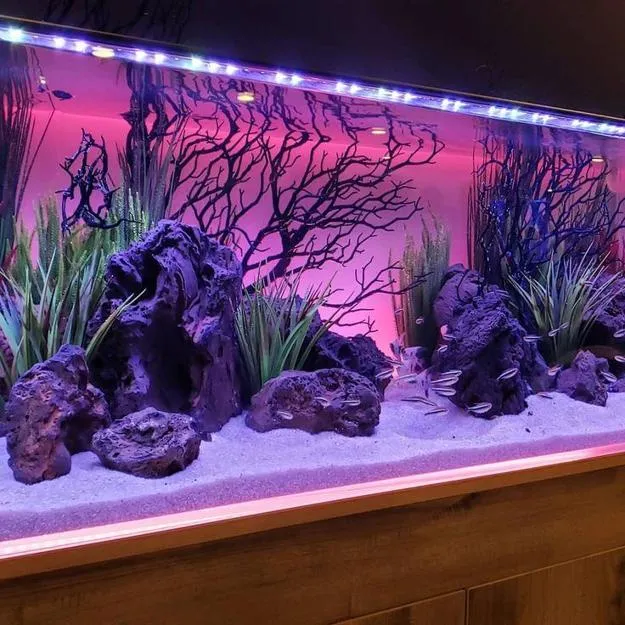
This step-by-step guide outlines how to effectively use a water testing kit to monitor essential aquarium parameters, including pH, ammonia, nitrite, and nitrate levels. By following the detailed instructions provided, aquarium owners can obtain accurate readings, which are crucial for maintaining a healthy aquatic environment. Regular testing helps ensure that fish and other aquatic life thrive, ultimately promoting a stable and balanced ecosystem within the tank.


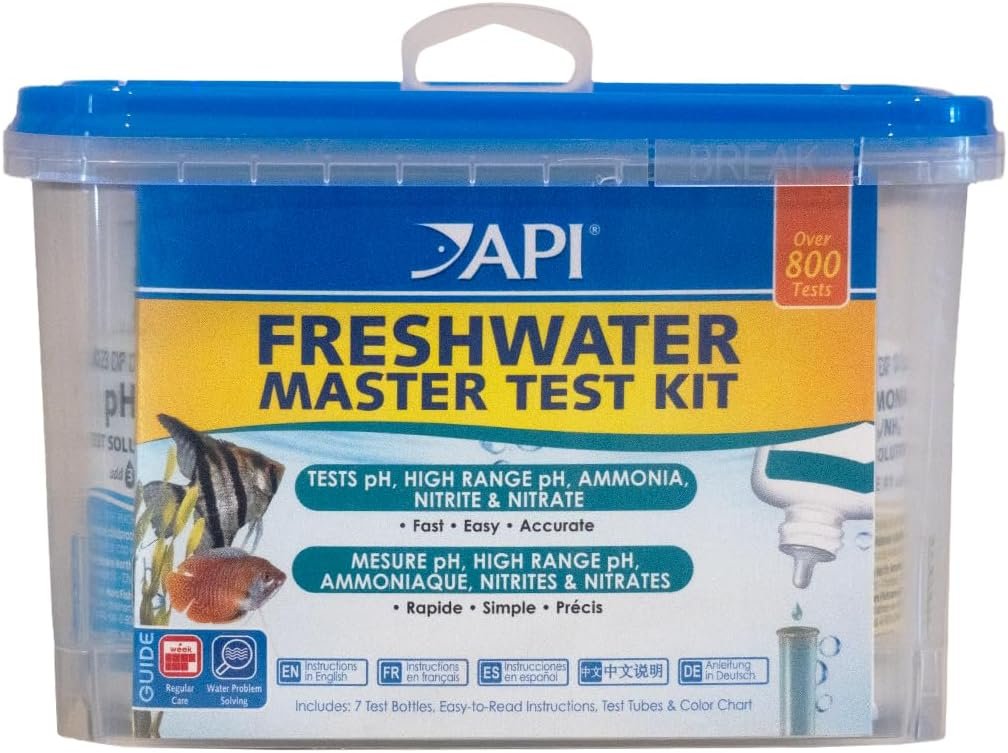
Comprehensive Guide to Using the API Freshwater Aquarium Master Test Kit
1. Gather Your Materials
Gather all necessary materials before beginning the water testing process. Collect your water testing kit, ensuring it includes all essential components such as reagents and instructions. Obtain clean test tubes, as contamination can skew results, and have a supply of distilled water on hand for calibration if required by your testing kit.
Prepare a notebook or a digital device to record your readings meticulously. Note the date, time, and specific location of the water sample for accurate tracking. Assemble everything in a designated workspace to keep your materials organized and easily accessible throughout the testing procedure.
2. Choose the Right Time for Testing
Select a consistent time each week for testing the water, aligning it with your routine maintenance schedule or feeding times. This practice helps create a reliable baseline, making it easier to compare results over time.
Record the water parameters immediately after testing each week. Maintain detailed logs that note the date, time, and any changes observed since the last test. This will provide a clear history of water quality, aiding in identifying trends or issues that may arise in your aquatic environment.
3. Collect Water Samples
Use a clean container to draw water samples from the aquarium. Ensure that the container is free from any contaminants by rinsing it with distilled water before use. Position the container at different levels within the aquarium: scoop water from the top, middle, and bottom sections. This variety allows for a comprehensive understanding of the water quality, as different levels may exhibit varying conditions due to factors such as temperature stratification and the accumulation of waste.
Fill the container slowly to avoid creating bubbles, which can alter the sample’s composition. Once filled, label each sample according to its source level (top, middle, bottom) to keep track of where each sample was taken from. Take care not to mix these samples, as they will provide valuable information about the overall health of the aquarium environment.
4. Prepare the Testing Kit
- Read and understand the manufacturer’s instructions thoroughly before beginning the preparation of the testing kit. Each kit may have specific requirements and protocols that must be followed for accurate results.
- Calibrate the testing kit if required by following the specified steps in the instructions. This may include adjusting settings or using calibration solutions provided in the kit.
- Prepare any reagents needed for the test. Ensure that they are mixed according to the instructions and are at the correct temperature if specified.
- Check the expiration dates on all test solutions and reagents. Discard any that are past their expiration date, as they may not yield accurate results.
- Gather all necessary equipment and materials, such as pipettes, containers, and protective gear, before starting the testing process to streamline your workflow.
- Organize your workspace to minimize contamination and ensure that everything needed is within easy reach during the testing process.
5. Perform the Tests
Fill each supplied test tube with the specified amount of water from your sample. Refer to the instructions accompanying the test kit to determine the exact volume needed for each test. Carefully add the corresponding reagents to each tube as indicated in the guidelines. Ensure you use the correct reagent for the specific test being conducted, as this will affect the accuracy of your results.
Mix the contents of each test tube gently but thoroughly to ensure the reagents interact fully with the water sample. Start a timer for the duration specified in the test instructions, as timing is crucial for obtaining reliable readings. Once the time is up, observe the color change or any other indicators in each test tube. Compare the results against the provided color chart or scale to interpret the levels of various substances in your water sample accurately.
6. Compare Results with Color Charts
Compare your test results with the color charts provided in the kit after the recommended reaction time has elapsed. Hold the color charts next to the sample and identify the color that most closely matches your test results. Assess each parameter tested, such as pH, nitrate, or phosphate levels, and ensure you are examining the correct section of the chart for accurate comparison.
Record your findings systematically. Write down each parameter tested alongside its corresponding value based on the color match. Use a clear format, such as a table or a simple list, to keep your results organized. Ensure that all values are noted accurately to facilitate any necessary follow-up actions or adjustments.
7. Take Action Based on Results
Analyze the recorded data regularly. Check each parameter against the recommended ranges for your specific setup. Identify any readings that fall outside these ranges. If parameters such as pH, ammonia, nitrates, or temperature are out of alignment, act promptly to correct them.
Adjust water conditions as necessary. For example, if the pH is too high or too low, use pH adjusters to bring it back within the desired range. If ammonia or nitrite levels are elevated, perform a partial water change to dilute the contaminants. Monitor the water temperature closely; if it deviates significantly, consider using a heater or chiller to stabilize it. If issues persist despite adjustments, utilize appropriate treatments, such as water conditioners or medications, to address the specific problem effectively. Regularly reassess the water parameters after making changes to ensure that your actions have been successful.
Ensuring Optimal Water Quality
In conclusion, utilizing a water testing kit is vital for the health of your aquarium. By regularly checking parameters such as pH, ammonia, nitrite, and nitrate levels, you can promptly address any issues that arise, fostering a stable and thriving environment for your aquatic life. With the tips and steps outlined in this guide, you’re now equipped to achieve accurate readings and maintain the optimal conditions for your fish and plants. Happy testing!
Essential Equipment List
- Water testing kit
- Clean sampling containers
- Gloves (optional)
- Stopwatch or timer
- Clean dropper or pipette
- Color comparison chart
- Stirring rod or spoon
- Test tubes (if applicable)
- Aquarium water conditioner (if applicable)
- Bucket or container for waste disposal

Essential Best Practices
- Read Instructions Carefully: Always start by reading the manufacturer’s instructions thoroughly to understand the specific testing kit you are using
- Use Fresh Test Kits: Ensure your testing kits are not expired, as outdated reagents can give inaccurate results
- Calibrate Your Kit: If applicable, calibrate your kit according to the manufacturer’s guidelines before testing
- Collect Water Samples Properly: Use a clean container to collect water samples from the aquarium, avoiding contamination
- Test Multiple Locations: Take samples from different spots in the aquarium to get a more comprehensive understanding of water quality
- Maintain Consistent Timing: Test your water at the same time of day regularly to account for daily fluctuations
- Avoid Direct Sunlight: Conduct tests away from direct sunlight to prevent heat and light from affecting the results
- Use Proper Water Temperature: Ensure the water sample is at the recommended temperature for testing, as this can influence chemical reactions
- Follow Timing Guidelines: Adhere strictly to the timing instructions for each test to ensure accuracy
- Record Your Results: Keep a log of your test results over time to track changes and trends in water quality
- Compare with Established Standards: Refer to the ideal water parameters for your specific fish and plants to evaluate your readings
- Cross-Verify with Multiple Tests: If possible, use different types of testing kits (e.g., strips and liquid tests) to confirm results
- Perform Routine Testing: Regularly test water parameters like pH, ammonia, nitrites, and nitrates to maintain a healthy environment
- Avoid Mixing Reagents: Never mix different test reagents unless specified; this can lead to inaccurate readings or chemical reactions
- Dispose of Samples Safely: Follow proper disposal guidelines for any chemicals or water samples after testing


